Thursday, August 30, 2012

Mom's Recipes: American Goulash


This is in no way an authentic goulash recipe, it doesn't contain a speck of paprika. I didn't know that until I was a teenager. It is, however, delicious, comforting, quick, easy, and economical. My Mom makes this quite often, it feeds a crowd, and our family loves it. A few weeks ago, my husband requested that I make it.  He and our son devoured it, so it looks like another generation will be enjoying it.

You will need:

1 lb box of macaroni or shells pasta
1 lb ground beef
1/2 an onion, chopped
1 (15 oz) can tomato sauce OR a can of diced tomatoes
1 can of tomato paste
1/2 cup water
1 (15 oz)  can sweet corn
salt and pepper to taste

Cook the pasta according to package directions. Brown the beef with the onions. Stir in the tomato sauce, tomato paste, water, and corn. Heat through. Add to pasta, stir in salt and pepper to taste. Growing up we ate this with a salad and buttered bread.


Wednesday, August 29, 2012

Cream of Broccoli Soup


I know, it is waayyyyy too hot to be eating soup this time of year. That's what I was thinking even as we ate this the other night. I can't help it, I'm a soup person. I wish it were fall year round so I could comfortably enjoy soups and stews whenever I want. Sometimes, though, it's just one of "those" days, and I need a comforting bowl of soup.

I've loved Cream of Broccoli soup ever since I was a little girl. I went to lunch with my Mom and some of her work friends, and we all had soups and salads. My Mom ordered Cream of Broccoli for me, it was love at first spoonful. Whenever we visited that restaurant, that's what I ordered.

You will need:


12 ounces, Frozen Chopped Broccoli

2 cups Chicken Broth

2 Tablespoons Butter

⅓ cups Onion, Chopped

1 clove of garlic, grated

2 Tablespoons All-purpose Flour

⅔ cups Milk

a few pinches of Pepper

salt to taste

Preparation Instructions

In a large pot over medium heat, simmer the broccoli in the broth for 15 minutes. Use a potato masher to smash the broccoli into smaller pieces and thicken the broth.


In a separate skillet over medium heat, melt the butter. Then, add the onions  and garlic and saute for 5 minutes or to desired tenderness. Add the flour to the onions and stir well. Heat milk in the microwave for 30 seconds(helps keep the "roux" from clumping) then gradually add the milk and stir until thick. Add this mixture to the broccoli mixture in the pot and stir well. Next, add the cheese, stirring until melted (the heat can be turned off at this point). Finally, add the salt and pepper to taste.

For a broccoli cheddar version, remove the pot from the heat and stir in 1 cup of grated sharp cheddar cheese. In the fall, I serve this in bread bowls, as a treat for my hubby.


Thursday, August 16, 2012

Braciole


This is my rendition of a delicious old school Italian dish. The kind of dish I would imagine the Italian side of my family enjoyed Sunday evening after church. I don't know much about them, but I've always longed for the kind of family dinners you see big Italian families attending in movies. I have a friend whose family is from the same Brooklyn neighborhood my Grandfather grew up in, being a dinner guest at her house gave me a taste of the Italian family I'd dreamed of but never experienced. Not to knock the family I have. We always had amazing family dinners and lots of love.

This was my first time preparing this dish. I read about 100 different recipes, and picked out what I liked from each. I then adapted the ingredients based on what I had in my kitchen. I urned out delicious, and my husband adored it. This would be a perfect dish to make for a dinner party.

I didn't measure out the filling ingredients, so these are estimations of what I used for 2 people.

thinly sliced flank steak - 1 per person
2 TBS chopped shallots, sauteed just enough to soften them
Panko breadcrumbs - 1/4 cup
Spinach - 1/4 cup
1 clove garlic - I grate it with a microplane zester
10 basil leaves
a handful of Parmesan cheese
a handful of grated Mozzarella
Spaghetti sauce - I used a jar of 4 cheese sauce

Pound the steaks thin between 2 pieces of waxed paper. Season with salt and pepper. Heat a few TBS of olive oil in a skillet. Mix filling ingredients together. Spoon a few TBS of filling over each steak. Roll up and tie with butcher's twine or secure with toothpicks. Brown quickly in skillet. Lower heat, add sauce and simmer 60-90 minutes, turning occasionally. Check for tenderness. Remove twine and serve. I had extra filling, so I spooned it over the tops and put it under the broiler to brown up. I probably wouldn't have bothered with this step if I weren't already using an oven-safe skillet. I served this with a big salad and creamy polenta.


Wednesday, August 15, 2012

Homemade Dark Chocolate Sauce


This stuff is ridiculously good. The first time I tried it, I was home by myself. I considered consuming the entire thing and not telling anyone, or hiding it in the back of the fridge. I don't care for most store bought chocolate sauces, as I find them to be overly sweet. This one is just perfect. I lowered the sugar called for in a recipe given to me by a friend, and swapped regular cocoa powder for dark. It is delicious over fresh fruit,  ice cream or brownies, and makes a perfect glass of chocolate milk. It is way easier to prepare at home than I ever dreamed. I halved the batch because it's just my husband and I that use it, and having a lot around could be bad news for us. If you have a bigger family or can control yourself around chocolate, go ahead and double this recipe. It would make an awesome gift.

You will need:

3/4 cup Water
3/4 cup Sugar
1/2 TBS Corn Syrup
3/4 Cup Dark Cocoa Powder (I use Hershey's Special Dark)
1 TBS Vanilla Extract
Pinch of Salt (I use Kosher)

Bring the water, sugar, and corn syrup to a boil in a medium saucepan, stirring occasionally. Reduce the heat to low, whisk in cocoa powder 1/4 cup at a time. Cook for 5 minutes, or until thickened, stirring occasionally. Remove from heat, stir in vanilla and salt.

Sometimes I sub out part of the vanilla for other extracts. Hazelnut extract makes a delicious sauce that tastes like Nutella.


Tuesday, August 14, 2012

Chicken Stock - The Good Stuff


One of my favorite things to have on hand in my kitchen is homemade chicken stock. This stuff, the real stuff, the good stuff, is what you want when you are sick. Its flavor is unmatched by anything you find in the super market. I have been known to use the canned stuff, more than I use hommade actually. But homemade is so much better, and actually very easy to make. It is also very economical.

I don't buy special chicken pieces to make my stock. I buy a lot of bone-in meat, and I save the bones. When I buy a rotisserie chicken at Costco, I save the bones. I have a big bag in my freezer that I add bones to as I go, and when it is full, I make stock. This same method works for turkey, and makes for great stuffing or leftover turkey soup, if you don't get around to it before Thanksgiving.

You will need: A large pot, a colander, and a large bowl. Cheese cloth helps the straining process by catching little bits, but don't fret if you don't have it.


Chicken Bones, at least 1 carcass or a bunch of bones
3 carrots, chopped
2 onions, coarsly chopped
2 stalks celery, chopped
2 Bay Leaves
Whole Peppercorns (sometimes I forget these, and it still tastes pretty good)

If I have them, I add a sprig of fresh thyme and parsley, tied up in cheese cloth. I've used other herbs too, such as sage and  rosemary. They are great, but for a "traditional" taste, it's thyme and parsley.

Put bones in a large pot with enough water to cover. Bring to a simmer, skim off the scum that rises to the top. Add the veggies and herbs, return to a simmer for 3-4 hours. To avoid a cloudy broth, don't let it boil, just simmer.

Use it in some of my favorite soups:
Chicken & Dumplings


Chicken & Veggie Soup


Chicken & Noodles (recipe coming soon)


Monday, August 13, 2012

Sugar Cookies - Step by Step


This is a great recipe for cut out cookies. I made these to give out as favors at my son's Little Man birthday party. My Hubbie is a sugar cookie fanatic, he loved them.

3 all-purpose flour
2 tsp baking powder
1 c sugar
2 sticks (salted) butter, cold & cut into chunks
1 egg
 1 tsp pure vanilla extract
1/2 tsp pure almond extract

Instructions:

Preheat oven to 350.


Sift together  the flour and baking powder, set aside.

Cream the sugar and butter.


Add the egg and extracts and mix.


Gradually add the flour mixture and beat just until combined.


Scrape down the sides of the bowl.

Flour your work surface. I saw a show where Bobby Flay was making pie dough, his trick for flouring the work surface evenly is to sprinkle the flour with more of a side arm motion. It really does help. Roll dough out.


Cut into Shapes


 Place on parchment lined baking sheets, place baking sheet in freezer for 5 minutes, then transfer to the oven and bake for 12 minutes. Let sit a few minutes on the sheet, then transfer to a cooling rack.

Once they were cool, I popped them in the freezer for a few mintues, then I piped and flooded them with a Chocolate Royal Icing.

Saturday, August 11, 2012

Comeback Sauce


Comeback Sauce is a dipping sauce I've had at a few restaurants here in The South. It's one of those condiments I had never heard of  before I moved here, like White Barbeque Sauce. I've only seen it at a few restaurants, but it is an excellent dipping sauce for french fries. The first time I had it, it was served along side green bean fries and fried green tomatoes. Whip up this simple sauce the next time you make fries or potato wedges. Make it for a BBQ or putluck. This stuff is delicious the day you make it, but knock-your-socks-off good the next day.

You will need:

1/2 cup Ketchup
1/2 cup Mayo
Juice of 1/2 a lemon
2 tsp Dijon Mustard ( I think yellow is standard, but I prefer Dijon for this)
1/2 tsp Garlic Powder
1 TBS Black Pepper

Mix all ingredients together. Chill. Serve with fries. It's also great on burgers.


Thursday, August 9, 2012

Chicken & Dumplings


I didn't grow up eating chicken and dumplings. My brother remembers that our Mom made this dish once, and that it was delicious. No doubt it was delicious, my Mom is a fabulous cook, but I don't remember it. It's a shame. My husband has fond memories of his Mom making Chicken and Dumplings, I've never had hers, but he raved about Chicken and Dumplings, so I looked for a recipe. I was blown away by passion some people exhibit in the rolled vs dropped dumpling debate.

These are dropped style dumplings, this was the first time I have made them this way. I usually make more rustic, biscuit-like dumplings, which I still prefer. This recipe is slightly adapted from a version I saw Alton Brown prepare on Good Eats. I love that show. The dumplings are prepared differently than in any other recipe I've seen. This dish is very good, that Alton knows his stuff. If I were to make Chicken and Dumplings for company, I think I would use this recipe, the dumplings turn out very uniform. I always add veggies, so it is more of a meal.


2-3 cups cooked chicken, shredded
1/2 t salt
1/2 cup onion
1/2 cup peas
1/2 cup celery
1/2 cup corn 
7 cups chicken broth
3 tablespoons unsalted butter
2 3/4 ounces all-purpose flour
2 large eggs, at room temperature
Freshly ground black pepper

Steam veggies. Bring 6.5 cups of broth to a strong simmer.
Put 1/2 cup of the broth, the butter, and 1/2 teaspoon of salt in a medium sauce pan, set over high heat, and bring to a boil. As soon as it boils, add all of the flour at once and stir with a wooden spoon until the mixture starts to come together, approximately 1 minute. Decrease the heat to low and continue stirring until the mixture forms a ball and is no longer sticky, approximately 3 minutes. Transfer the mixture to a medium bowl and mix, on low speed, for 5 minutes with an electric hand mixer. Beat until cool and there is no more steam rising. Continue to mix on low, and add the eggs, 1 at a time, making sure each is completely incorporated before adding another. Transfer the dough to a 1-gallon resealable plastic bag. Cut off 1 corner of the bag to make a quarter-sized opening.
Bring the broth to a slight simmer over medium heat. Pipe 1-inch of the mixture and cut with kitchen shears directly over the broth. Repeat with the remaining batter. Cook, covered, until the dumplings are cooked through, about 8 to 10 minutes. Turn off the heat, add the chicken and veggies and wait for 2 to 3 minutes before serving.  Serve up a nice hot bowl with a little pepper.


Wednesday, August 8, 2012

Custom Onesie Using Freezer Paper


My son’s 1st birthday was a few days ago. I made him this little onesie to wear at his “Little Man” themed party. This was so easy, and really fun. There are so many things that could be made using this technique.

You will need:

Onesie, shirt, or other fabric

Freezer paper, the kind that has a plastic coating on one side

Fabric Paint

Brushes

Iron

Piece of card board

Xacto knife

Cutting mat, or if you are like me, and can’t find yours, another piece of cardboard.


First, decide what design you want to use. This one was pretty simple, I just found a “1” I liked in Word, blew it up and traced it. My husband drew the moustache, but there are tons of images for those on the web.

Once you have your design, print it, lay freezer paper plastic side down on top of design, and trace the design onto the freezer paper. You could also free hand a completely custom design, but I don’t have that kind of talent.

Using your Xacto knife, carefully cut the design out.  Make sure you leave yourself plenty of freezer paper surrounding the design.

Position the freezer paper over the fabric, plastic side down. Use a hot iron to press it onto the onesie, the paper will stick, creating a stencil. Place a piece of cardboard under the front of the onesie, to prevent the paint from bleeding through onto the back.

Carefully paint inside the stencil. Allow to dry, and pull the freezer paper off. For the “1”, I used Craftsmart Acrylic Paint in Lush Foliage.

Since I wanted to moustache to cover part of the “1”, I did mine in two layers. While the “1” was drying, we cut out the moustache. Ironed it on, just as we had before, and painted using FolkArt Acrylic Paint in Licorice. This looked adorable on our Little Man. 


Perfect Buttercream Frosting

I've searched and searched for a good recipe for buttercream frosting that can be piped, and not melt or lose it shape. I've had many mishaps, near successes and downright failures. One Easter, I spent over an hour making Swiss Meringue Buttercream from a complicated recipe that had hundreds of rave reviews. My family wouldn't eat it. Maybe I did something wrong, but it was gross. I don't have time for finnicky frosting. After much trial and error, I have found a recipe that is easy, doesn't require a ton of ingredients, comes together quickly, holds its shape, and my family enjoyed. My Mom even asked for the recipe.

3 sticks unsalted Butter, softened
1/2 cup Shortening
1 small pinch of salt
2 tsp Vanilla Extract
8 cups (1 bag) Powdered Sugar
1-3 TBS Milk, if needed

Note: If you are not piping the icing, just frosting with a spatula, omit shortening and up the butter to 4 sticks instead. The shortening helps stabilize the frosting so it holds it's shape when piped. This small amount of shortening does not affect flavor, but using all butter makes for a silkier frosting. It is delicious both ways. I don't usually need the milk called for, but if I will be frosting a large cake, I add it.

Cream butter, shortening, salt, and vanilla in a stand mixer with the paddle attachment at medium - high speed until light and fluffy.


Add powdered sugar, 1 cup at a time. Beating well after each addition. Scrape the sides and the bottom of the bowl every so often. Once all the powdered sugar has been added, beat until light and fluffy. I usually make this right before I have to use it. It can be stored int he fridge, but I find that it needs to be re-whipped in the mixer to have the right consistency. Extra frosting can be frozen, but again, just has to be re-whipped to be nice and fluffy and smooth.


Monday, August 6, 2012

Guacamole

I love guacamole. I could eat it daily. It's delicious, full of healthy fats, vitamins and minerals.

You will need:
1 large or 2 small avocados
2 roma tomatoes
1/4 cup diced onion
Juice from 1 Lemon
1 TBS Ranch Dressing Mix
1/8 tsp Salt
1/8 tsp Pepper
1/2 tsp ground cumin
1/8 tsp Cayenne Pepper (optional)

Mash avocados with a fork. If you prefer chunky, only mash half right now, chop the other half and add in later.


Add Ranch Dressing Mix and other seasonings.


Chop two roma tomatoes

Add to Avocado Mixture

Dice Onion. Add to mixture. Store to combine. Squeeze lemon juice over top of guacamole, cover and chill. Stir mixture right before serving to combine lemon. This helps to keep the avocados from turning brown.


Sunday, August 5, 2012

Salt Potatoes

I'm not sure where this recipe came from, but when I saw it, the name intrigued me enough to try it. The recie is super simple is super simple, but it really upgrades basic boiled potatoes. Salt raises the boiling point of water, so they are cooking at a higher temperature than with plain water. The flesh of the potatoes becomes super creamy. Try it tonight. They go great with Meatloaf or Roast Chicken.

The recipe says to use new red potatoes, but I've used plain 'ol russets, they come out fine. I do try to use potatoes that are about the same size, so they cook evenly.

You will need

3 lbs Potatoes, washed
8 cups water
1 1/4 cups Kosher Salt, Sea Salt, or NON-IODIZED Table Salt

In a large pot, bring water to a boil. Add salt, stir. When salt is dissolved, carefully add potatoes. Boil for 20 - 30 minutes, or until tender. Remove from water, place on rack to dry. After about 5 minutes, a delicious salty crust will form on the outside of the potatoes. Serve with butter.


Sometimes I serve these with a simple Herb Butter, I melt butter in the microwave, stir in 1/2 tsp pepper and a few tablespoons of fresh herbs. I love basil on these potatoes, but chive or even garlic butter is divine.


Saturday, August 4, 2012

Veggie Fried Rice - Use up those veggies

I love vegetables. I purchase them with good intentions of preparing delicious, fresh vegetable dishes. That doesn't come naturally to me, vegetables were more of an afterthought in our house when I was growing up. A can of corn or green beans, always drenched in butter. I'm not sure why, since most of us love vegetables. Last week, there were great deals on so many fresh vegetables at my local grocery store. I snapped up squash, zuccini, bell peppers, green beans, and a few others. I had good intentions for them, I really did. As I shopped, ideas were popping into my head left and right. But, almost a week later, I'd used less than half of them. Determined not to let them go to waste, I decided to make veggie fried rice, since I also had leftover rice in my fridge. It was delicious. I often make extra rice for the purpose of making fried rice. Left over meat and veggies make excellent fried rice ingredients.

There really aren't specific amounts of anything. Just chop up what you have or what sounds good.

1 large carrot, diced
1 large celery stalk, sliced small
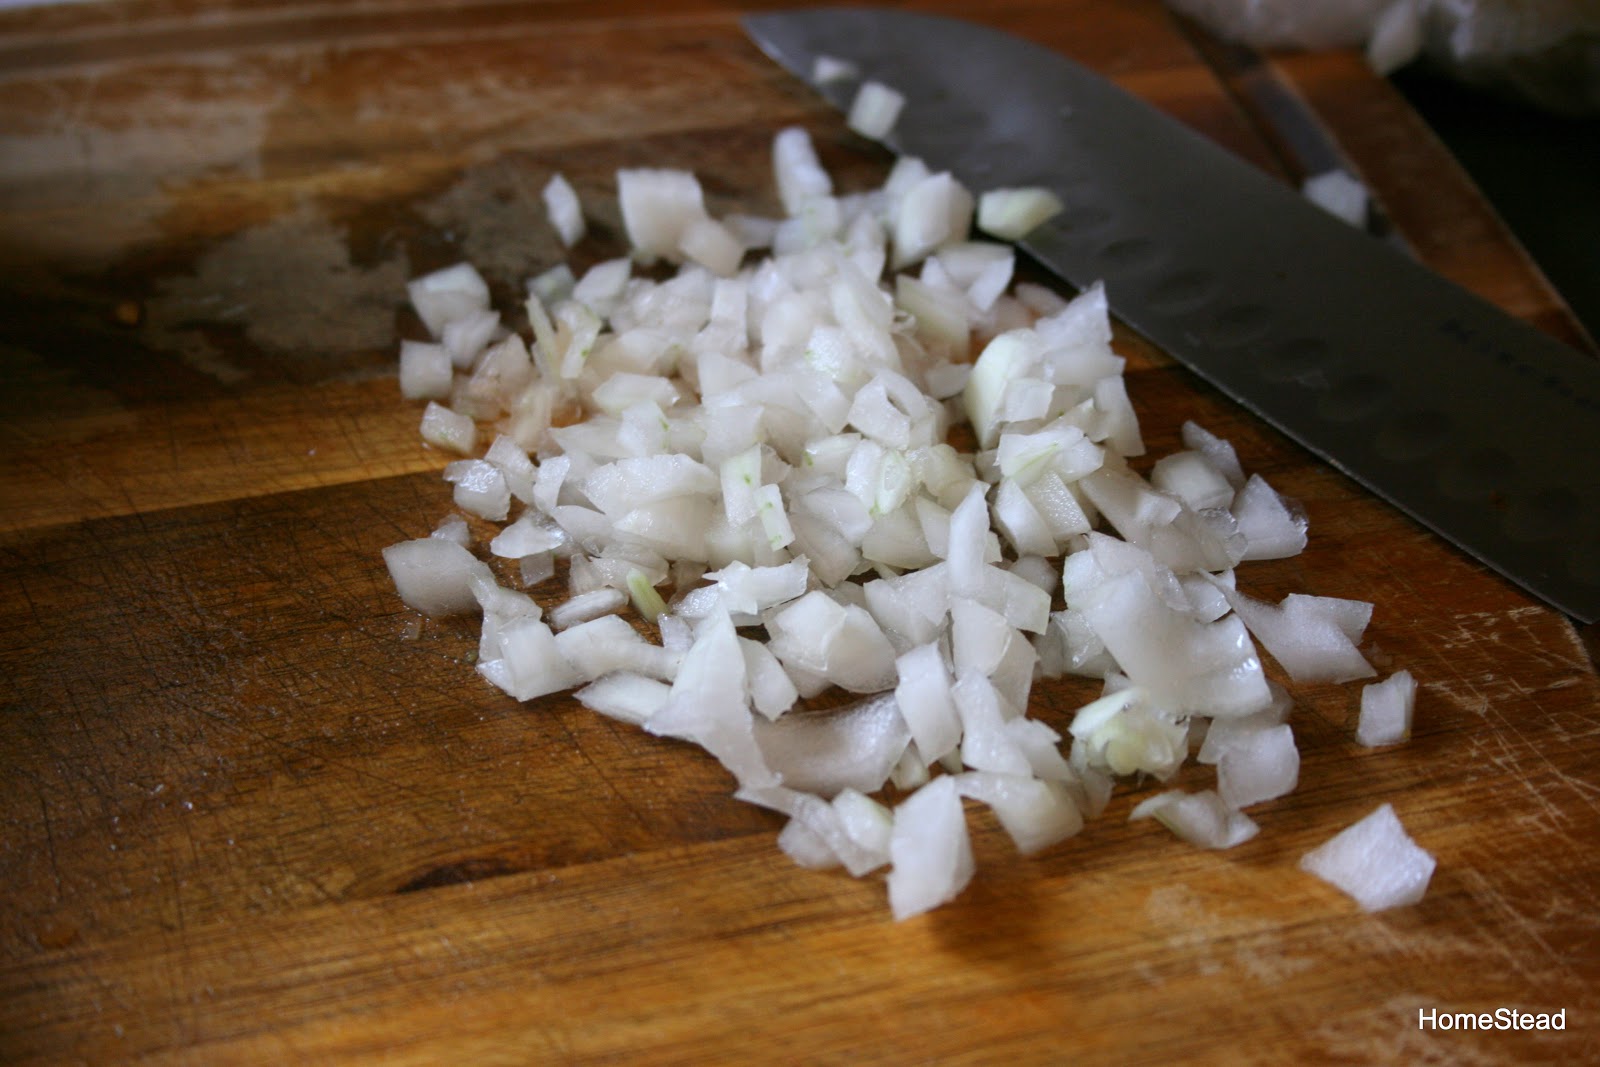
1/4 of a large onion, diced
1 red bell pepper, diced
1 handful of green beans, cut about the length of the bell pepper dices
1/2 of a yellow squash, diced
1.5 cups leftover brown rice
1 egg
Sesame Oil
Soy Sauce
Fish Sauce

Heat 1 TBS sesame oil and 1 TBS olive, grapseed, or canola oil in a large skillet over medium heat. Add celery and carrots. Allow them to cook whike you chop the rest of the veggies, since they take a little longer.
  Add veggies, saute until bell pepper is softened.
 Add rice. Allow rice to heat through and get a little crispy, if you like it that way


 When rice is cooked to your liking, make a well in the center, add a drizzle of oil, and crack the egg in the center. Allow the egg to set a little bit, then scramble it and mix it in with the rice.

 Spinkle on some Soy sauce and fish sauce. I realize most people do not have fish sauce in their refrigerators, but I urge you to try it. It is a very inepensive ingredient that does wonders for Asian / Thai style home cooking.


Serve it up with soy sauce. I dished it into lettuce cups, mostly to use the lettuce up, but it really makes a decent vegetarian lettuce wrap.